A Valentine’s Day Party Slime Station

Wanna get kids extra excited at your party?
Two words: SLIME STATION!
I know, I know… this little phrase can create a very different reaction with parents than it does with kids! 😬😂
I couldn’t resist including it at our Love Potion Valentine’s Day party though, because of all the pouring and mixing elements. Slime is very potion-like, too! Just an extra gooey version. 😉
There are lots of ways to make a slime station less stressful for us parents, too! Things like:
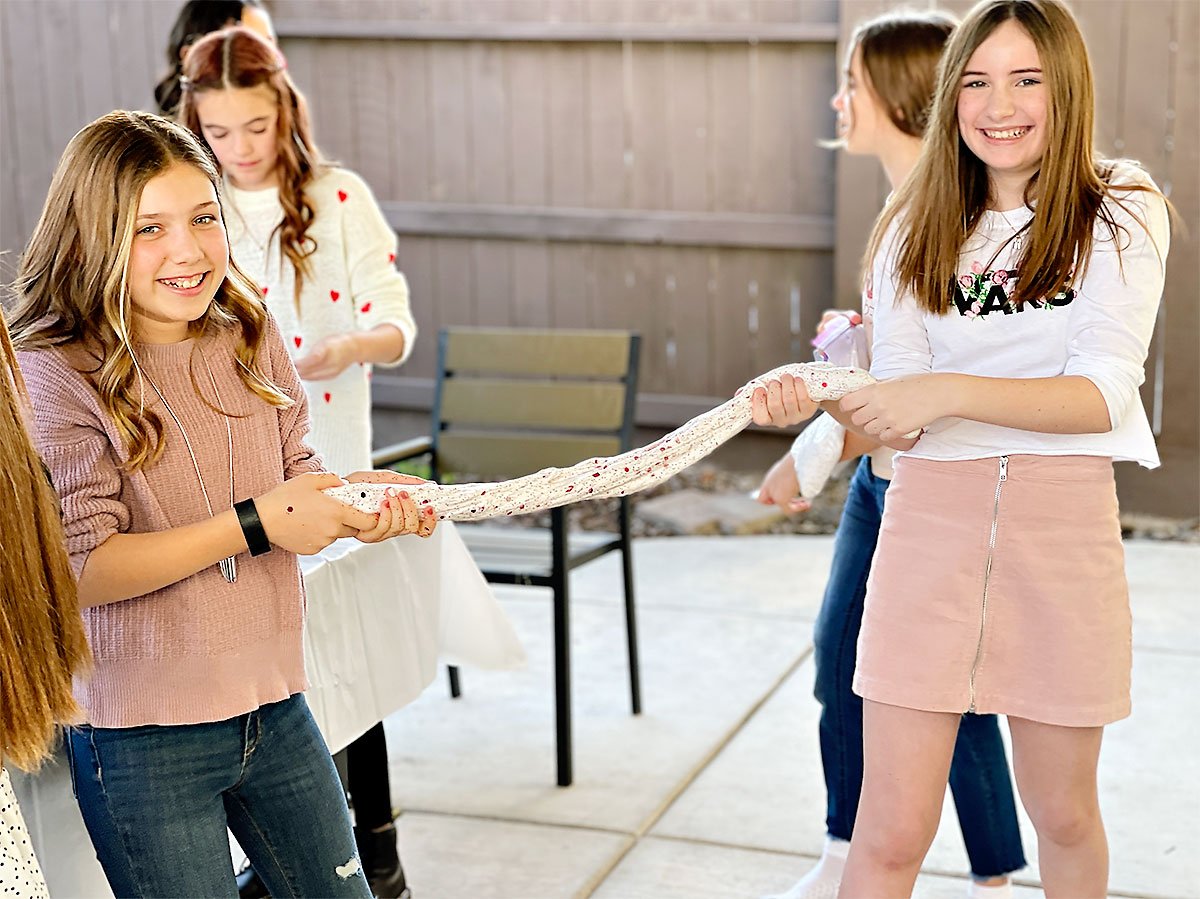
- setting up outside
- arranging supplies strategically
- using a disposable tablecloth
- and skipping the food coloring
I did all of those things here, and the kids still had a blast. 🥳
BTW – These slime station tips work for Valentine’s Day and BEYOND!
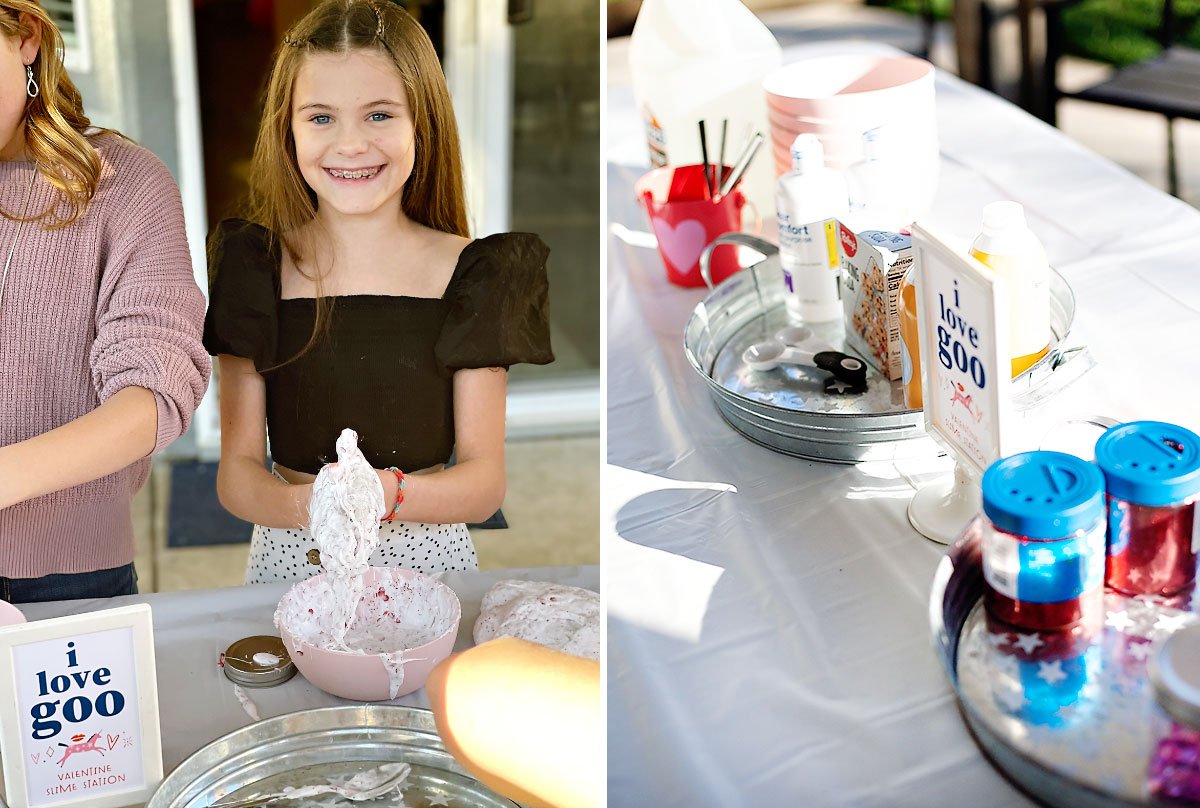
The styling supplies (pink bowls, “I love goo” sign, heart pails) and glitter colors are really what theme this station to “Valentine’s Day”. Just swap out the colors of your mix-ins & supplies to match any theme you like!


A VALENTINE’S DAY PARTY SLIME STATION
***
Slime Ingredients:
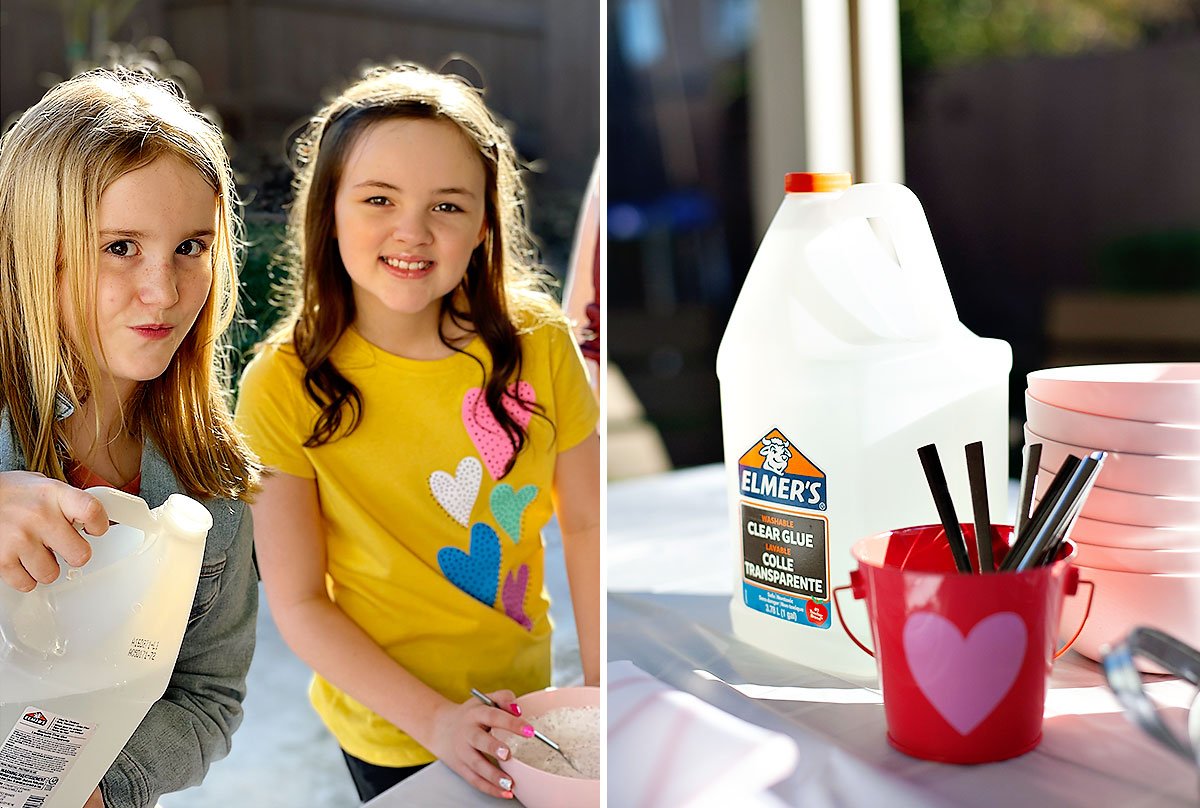
- Elmer’s glue (clear and/or white)
- saline solution
- baking soda
- shaving cream*
- sparkly mix-ins (glitter, confetti, etc.) in Valentine colors
- OPTIONAL: food coloring in Valentine colors
- Ziplock bags for storage
*Note: Shaving cream is an optional mix-in to make slime “fluffier”. It will turn clear glue an opaque white, though, so it’s best to use it with regular white glue so your (way more expensive!) clear glue doesn’t lose its translucent quality.
Supplies:
- small mixing bowls (1 per guest) I used these
- mixing spoons (1 per guest) I used these
- measuring spoons – ½ tsp, 1 Tbsp
- disposable table cloth
- “i love goo” activity sign*****
STEP 1: Setting the Table
1. Protect your table with a disposable table cloth. This will make clean up SO much easier! If it’s windy at all outside, use packing tape to tack down the sides of the table covering.
2. Arrange the slime ingredients in the middle of the table. If you’re using a long table, split the main supplies in half (jugs of glue, mixing bowls, spoons) and set them at both ends of the table for easier access.
3. Group the rest of the supplies in the center of the table. I like to set the mix-ins and other small ingredients on trays so they have an obvious place to “go back to” when the table starts to get busy and messy. 😉
4. Display the 4×6 Slime Station sign in the center of the table. This helps to theme up the table and adds the perfect finishing touch!
STEP 2: Making the Slime
The basic Saline Solution Slime recipe is:
- ½ cup glue
- mix-ins (glitter, food coloring, etc.)
- ½ tsp baking soda
- 1 Tbsp saline solution
HOWEVER, I’ve done a lot of these slime stations over the past few years, and have found that the kids are impatient (shocking! 😆) and usually just eyeball the measurements.
They will typically guess at the amount of glue, measure out the baking soda, then keep squirting saline solution into their bowls (without measuring) until they’re happy with the texture of their slime.
As unstructured as this sounds, it usually still works out! Just remind the kids ahead of time to only add a little bit of saline solution at a time, because using too much at once can cause the slime to lose its elasticity.
If you want better control over the results (or if your kids are on the younger side), you can pre-measure ½ cup glue into a bowl for each kid ahead of time.
Pro Tips & Things to Note:
- The glitter, food coloring, and other mix-ins should be added before the baking soda and saline solution.
- Shaving cream is optional and added for a “fluffier” slime texture. If you use it with clear glue, though, it will turn the slime opaque, which essentially looks just like white glue. (And white glue is around half the price of clear glue!)
- Whenever possible, tell parents in advance that there will be slime making at the party so they can dress the kids appropriately. (You can also offer aprons or other clothing protectors at the party.)
- Food coloring looks awesome in slime, but gets messy and can possibly stain clothes, so make sure to take all that into consideration! I chose not to have food coloring at this station, BUT my kids almost always use it when they make slime at home just for fun or with one friend over.
- Using pre-colored glue or glitter glue is a great way to add color without extra mess. It only comes in individual-sized bottles, though, so the cost can become a factor.
- For mixing bowls, I used these reusable pink cereal bowls from Target. They’re .50 cents each, the perfect size, and I’m able to clean the glue off pretty easily with a quick soak. 🙌


Love Potion Valentine’s Day Printables
My Love Potion printables are available in our store! Use them to add instant style and personalized details to your entire party. 🙌 You can edit the custom text yourself – right on the website – whenever (and as often as) you need to! Click here to buy this collection.


