Photography Tips for Creatives: The 5 Factors that Help Me Capture Great Shots
*This post is made possible by Adorama – the go-to resource for both renting and buying cameras and electronics. Check out their extensive learning center articles for helpful photography tips and inspiration, too!*

Pictured above: DIY Flamingo Donuts for Mattel
Let’s Talk Photography
Hi, friends! Today’s post is different than my norm here at HWTM. Instead of sharing a creative party or DIY project filled with lots of pretty photos, I’m going to give you some behind-the-scenes details about the photos themselves.
I hope that sharing my own process for photographing creative work might make things a little easier (and less daunting!) for others that are looking to do the same.
So, the first thing to note is that all of the images in this post are photos of my work that I personally shot within the past year for some of my favorite client projects. If you’re new to photography or feeling frustrated with it, here’s why you might find this encouraging:
- I don’t have any formal photography training.
- While photography has always been a major part of HWTM, it wasn’t until just last year that I finally started shooting my own work.
- I used to have a major mental block about learning how to handle a “fancy camera”. This is because I assumed it would take forever, and my already-overloaded-self just didn’t have that kind of time to spare.
A New Perspective
Looking at #2 and #3 on the list above actually makes me laugh now, because I have such a different perspective today. There’s incredible freedom that comes from feeling like you’re in control of your images and knowing that you can take specific steps to improve them!
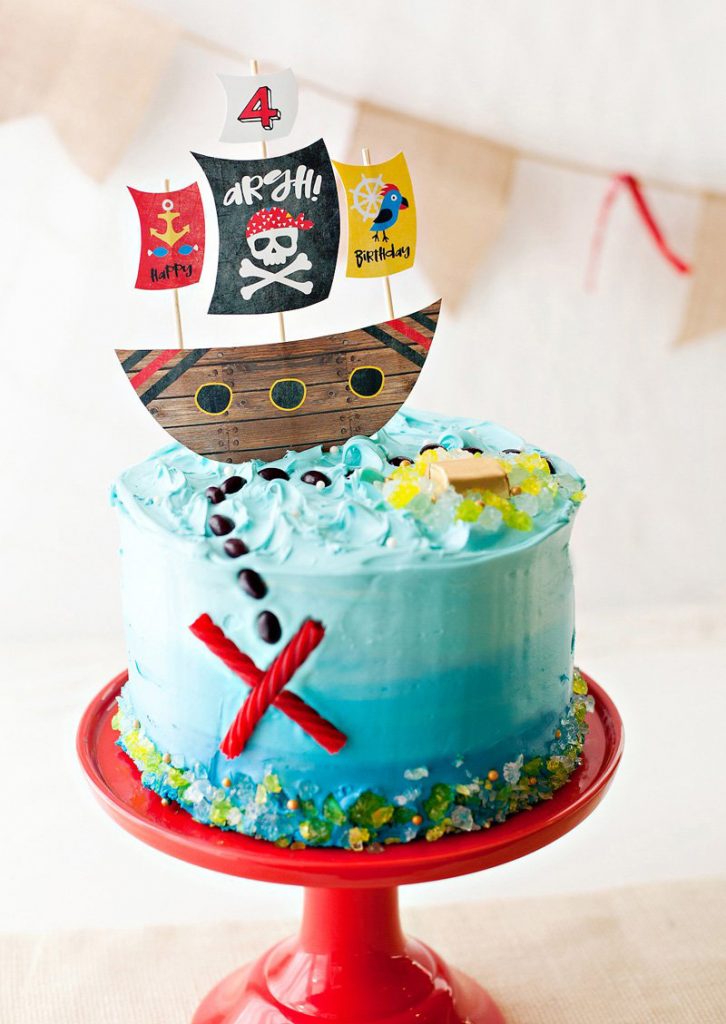
Pictured above: DIY Pirate Party Cake for Fisher-Price
With Creatives, Makers, and Influencers In Mind…
Before we jump in, please remember that I’m simply sharing the tips and equipment that work for me when it comes to capturing creative work.
This post isn’t really “photography tips for aspiring photographers”. It’s more “photography tips for creatives that want to beautifully capture their work and/or products without spending an eternity trying to figure out how to do it.” That felt way too long for a post title though. ;)
And even though my personal focus is on party-related details like food, drinks, and decorations, these tips will work across a wide range of creative categories.

Pictured above: DIY Monster Snack Cups for Fisher-Price
![]()
Photography Tips: 5 Key Factors that Work for Me
1. Great Equipment (I’ll tell you specifically what I use below.)
2. Natural Light
3. The TWO Camera Settings to Adjust
4. Distance and Blurs
5. Photo Editing
I know that you can get great results with these factors, too, and will expand on each of them below.
![]()
1. Great Equipment
This one is a biggie, and not exactly rocket science I know… but trust me when I tell you that it’s SUCH an important piece of the puzzle.
It’s also the hardest truth to swallow, because there’s a substantial investment involved. If you’re feeling hesitant about deciding which camera to buy, you might want to consider renting a camera through Adorama first. This way you can try it out before you commit!
Here is the photo equipment that I use:
- Canon 5D Mark II DSLR Camera Body – Most current model here
- Canon EF 50mm f/1.4 USM Standard Autofocus Lens
- Canon Speedlite 580EX II Flash
Notice that I linked to the “most current model” for the camera body. This is because we’ve been using this same equipment for 7 years, and multiple newer models have come out since then. I assume the newer models will perform even better, but am still able to produce great results with what we’ve got, so I don’t feel the need to replace it yet. This is a great testament to how our investment has paid off in the long run!
How and why we decided to invest in these particular pieces:
When I started blogging 10+ years ago, I knew nothing about photography, so I traded graphic design work for studio hours with a photographer friend. This quickly proved inefficient.
Next, we attempted go the DIY route and bought our first round of photography equipment, which my husband taught himself to use. It was probably middle-of-the-line equipment at best, but still felt like a WHOLE LOTTA money to us, so I hoped for amazing results. We got okay results, but definitely not what I envisioned. This proved frustrating.
Then – one fortuitous day – I met an incredibly talented photographer that was shooting a party I had styled for a mutual friend. I asked if he’d be willing to offer some advice on how to improve our own images. When he stopped by a few days later to discuss it, he took one look at our (old) camera and said, “Yep, that’s easy – you just need to spend some more money.”
Ugh – this was really NOT the advice we wanted to hear. On the other hand, I appreciated how matter-of-fact and confident he was on the situation. He’s also the person that recommended the equipment I use now.
And the really great part? On day ONE of using our new camera, we realized what still rings true today: BEST. ADVICE. EVER.
•
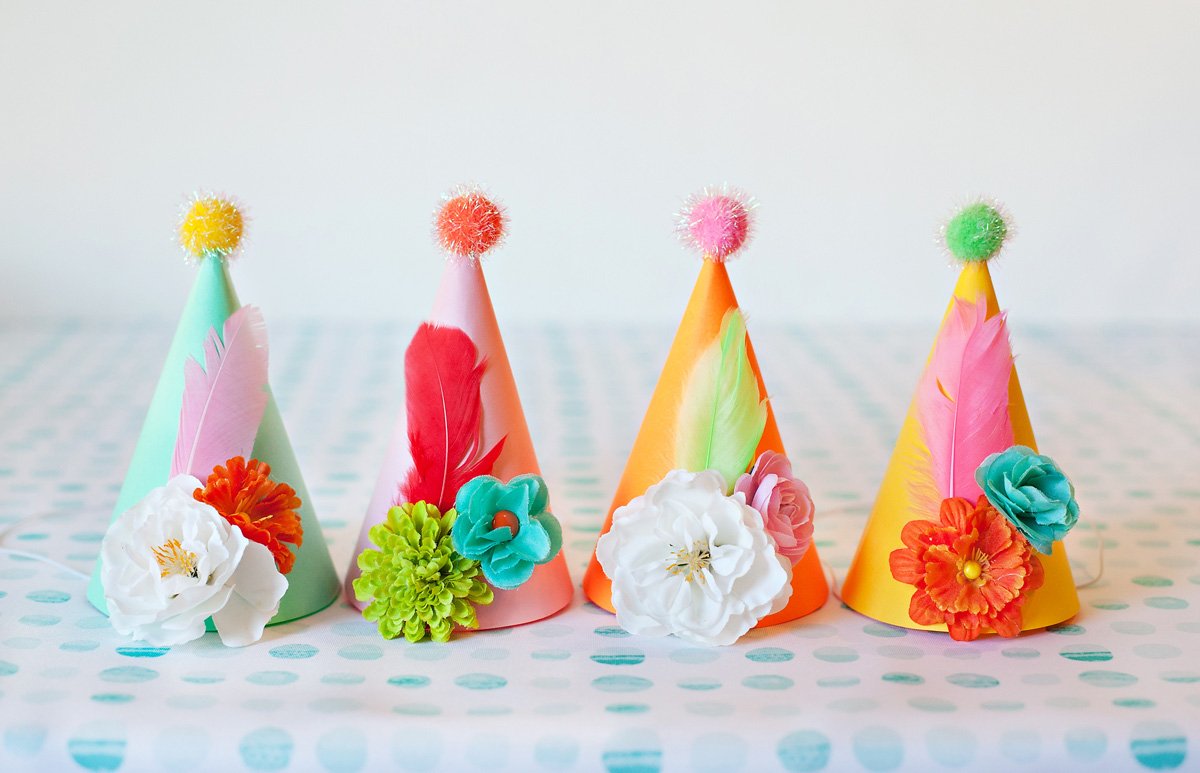
Pictured above: DIY Floral Party Hats for Mattel
![]()
2. Natural Light
The lighting rules I typically follow are:
1. Take advantage of natural light.
I position most of my dessert tables and smaller projects on a simple white table next to the sliding glass door near my family room. This is because it’s the largest “window” in the house. I shoot directly at the table with the glass door to my left. Time of day is also important, and I try to shoot when the shadows are minimal.
2. Rely on settings first, then add flash.
When the natural light isn’t bright enough on its own, I’ll play with a couple camera settings to bring in more light. (See more on this in tip #3.) If there’s still not enough light on the subject, then I’ll incorporate the flash. I only like using flash when I really need it, because the image can also get blown out pretty easily.

Pictured above: Party Punch from a Football Inspired Drink Station for NFL Homegating
![]()
3. Adjust TWO Camera Settings
If you’ve got the time and energy to devote, there are so many things to learn about your camera and its settings.
However, if you just want to cut to the chase are primarily shooting still life projects like me, here’s what I do: keep my camera in Av mode (Aperture-priority), my ISO at 800, and adjust the following 2 settings until I’m happy with the results:
#1: F-stop/Aperture
The “f” in f-stop stands for “focal length”. The f-stop numbers are used to indicate the size of your camera’s aperture, which is the opening in the camera lens that light shines through. As the f-stop numbers get lower, the aperture opening gets larger. This allows more light in and makes your image brighter. Lower f-stop numbers also create more “background blur” because the “depth of field” (or amount of your photo that will be in focus) also gets smaller as the f-stop numbers get smaller.
My f-stop settings usually stay between 2.8 and 5.0. I use higher numbers in the 4-5 range for larger subjects – such as a wide shot of an entire table where I want several of the items to be in focus. Here’s an example:

I use and lower f-stop settings (2.8 to 3.5) for smaller subjects and close-up shots, like an individual dessert or a craft detail. Here’s an example:

#2: Exposure Level
On my Canon 5D Mark II camera, the exposure level indicator appears in the camera’s top screen (right next to the battery power icon). It ranges from -2 to +2 with little stop notches in between. I use the large dial in the back of the camera to adjust this exposure level, and typically stick between 0 and 1. The higher the exposure level setting, the brighter your image will be.
That’s it, folks! These are the 2 settings that I’m constantly adjusting. Spend an hour or so practicing these by simply adjusting them and noting what changes, and it will become second nature before you know it!
For me, getting the perfect shot is always a balancing act between f-stop, exposure, and distance from the subject. And speaking of distance… let’s move onto tip #4.

Pictured above: DIY Kitty Cat Cake for Fisher-Price
![]()
4. Distance and Blurs
One of my first-ever goals with photography was making sure we “had those pretty background blurs”. Luckily, achieving this look is very simple! In addition to affecting the level of blur with your f-stop setting, as mentioned in tip #3, the other important factor is distance.
You can create/control distance in 2 key places:
1. between your primary subject and whatever is sitting behind it
2. between your (camera-wielding) self and your subject
My standard backdrops for DIY projects and smaller in-home shoots are 6×4-ft. artist canvases, usually left white or painted a solid color. This gives me a nice, lightweight background that I can either decorate or leave blank for a “cleaner” look. Most of the example shots in this post were shot against this type of backdrop.
However, at other times my projects are shot “in use” in a regular party setting. I sometimes even shoot my designs at live events now (primarily for portfolio purposes). In both of these cases, the “backdrop” of the subject naturally becomes whatever happens to be sitting around it.
Here’s an example of a relatively simple “in use” background:

And here’s an example of an “in use” shot where there was a LOT going on behind the subject:

Pictured above: DIY Glitter Champagne Bottle for Balloon Time and Flamingo Party Centerpiece for a friend’s birthday
I took the above shot while the party was already happening, so moving things around wasn’t an option. However, I was still able to utilize my f-stop setting and distance to the subject (which was as close as I could possibly get while still fitting it in frame) in order to blur out the background enough to keep the centerpiece itself as the “star” of the shot.
Typically, though, once I’ve figured out what kind of backdrop or background I’m working with, I’ll adjust the distance between the subject and the backdrop as necessary to get the best results. This often means scooting the subject all the way up to the front edge of a table, while the backdrop is quite a ways back. It doesn’t matter if the distance looks “correct” in real life, because you won’t be able to tell in the final shot. The camera is tricky like that!
To summarize, here are 3 simple ways to create more background blur:
- increase the distance between your subject and its backdrop or background elements
- get closer to or tighter in on the subject yourself
- decrease the f-stop number
If I want less blur and a clearer view of the background, just do the opposite things. Here are a couple examples:
Lots of background blur:
Minimal background blur:

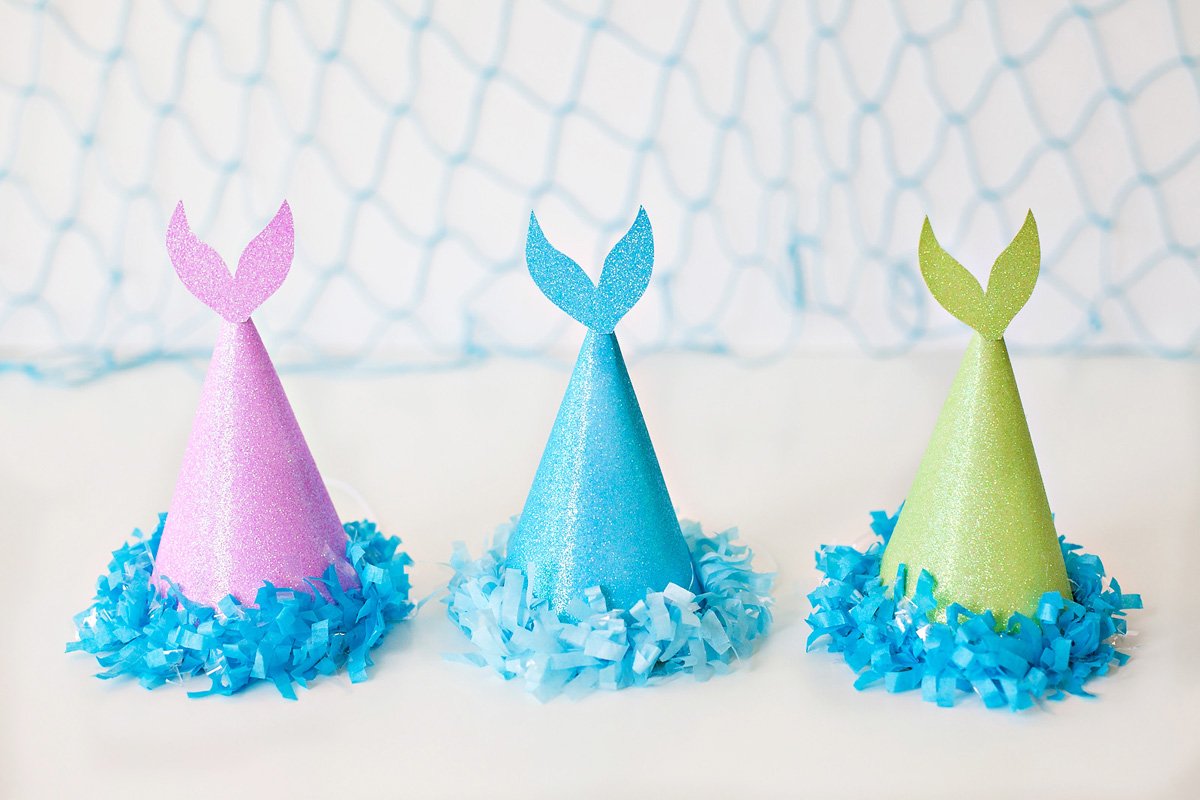
Pictured above: DIY Mermaid Tail Party Hats and Mermaid Birthday Party Theme for Fisher-Price
P.S. If you look to the left on the image above, you’ll also get little peek at my “studio” set-up! ;)
![]()
5. Photo Editing
I love using Adobe Lightroom and Photoshop to polish my captured images and really make them shine. It’s the icing on the cake! I sometimes edit images for others too, and have received quite a few requests to please “add the magic sparkle dust” to their shots. ;)
While photo editing programs aren’t actually magic, they can certainly feel like it. And just like with a camera, there’s so much that you can do these programs. However – also like with the camera – I opt to stick with just a small handful of steps that I can always rely on for good, quick results.
Here’s an outline of my actual photo editing process:
- Important photos into Lightroom
- Select favorite images, then do a quick edit (1-2 mins) in Lightroom using the following tools & sliders in the Develop panel (as highlighted in Yellow):
•
 •
• - Export the image from Lightroom to a folder on my desktop
- Open the image in Photoshop and run a “Magic Sharp” action on it.
- Adjust the image a bit more using the Photoshop Brightness/Contrast, Selective Color, and Dodge/Burn tools.
I realize this might sound like a lot of work – but I can usually finish ALL of them in around 2 to 5 minutes per image.
![]()
That concludes my tips for today – thanks so much for sticking with me. :)
I would also like to thank Adorama for sponsoring this post. As always, all thoughts and opinions are 100% my own. Adorama is an extensive resource of EVERYTHING photography – from a wide range of equipment to education and inspiration. You’ll find TONS of photography & video tips on their website, with content tailored to both newcomers and pros. Possibly best of all, Adorama also offers RENTAL services! This means you can try some of your favorite equipment out before making the decision to buy.
Hope you found some helpful insights here today! I’d be happy to answer additional questions in the comments.
7 Comments
Comments are closed.


Curious how creative bloggers capture beautiful shots? I’ve teamed up w/ @adorama to share EXACTLY how I do it! #ad… https://t.co/3GIzJxM4Fy
Creative photos are the key to blogging success. @HWTM_Jenn shares tips for capturing inspiring images for her blog… https://t.co/qRWbyQueSS
Great post, Jenn! Thanks for sharing those tips!
Hi! I’m following you for a looooong time now. I was graphic designer focused on party itens and then i felt in love with photography. I totally get you, ’cause I work as party photographer for a while. The tips you gave are accessible for everyone, and i got very happy to see that you are generous enough to share them with unexperienced people.
I was always a fan of your work, now more than ever! Thanks for sharing :)))
And sorry about my Spelling mistakes.
Kisses from Brazil, Marina.
Hi Marina – Thanks so much for the sweet comment – much appreciated! :) So happy you found these tips helpful!
Best advice you ever gave me, too, Jen was to go buy the 5D! Thanks for the peek into your editting process :)
I was wondering how photographers capture great shots, but after reading this post, I gained a lot of confidence on how to capture such shots without anyone’s help.
Thank you for sharing the best and helpful tips.